
Step-by-Step: How to Pot Your Water-Propagated Pothos
Moving your Pothos from water to soil requires a few specific steps to ensure those delicate roots survive.
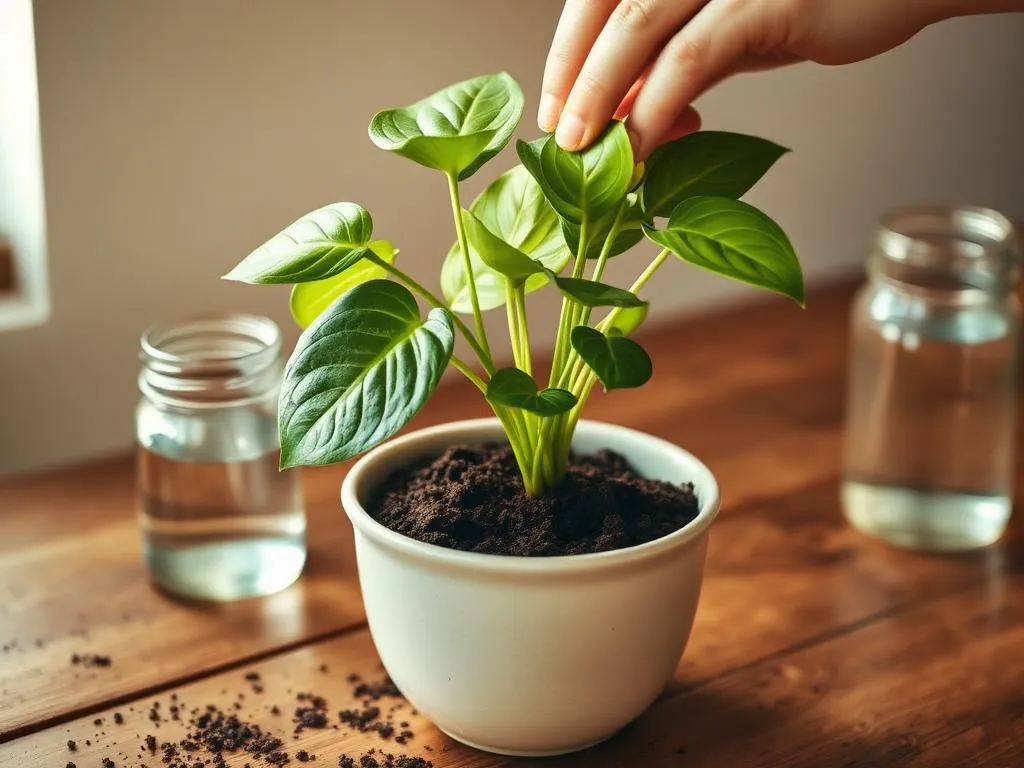
You’ve waited patiently, changed the water weekly, and now those beautiful white roots are finally about 2 inches long. Congratulations! You’ve successfully multiplied life. Now comes the most important part: moving your Pothos from its “water nursery” to its permanent home in the soil.
Transitioning can be a shock for the plant because “water roots” are more fragile than “soil roots.” Here is the SolaPlant guide to making this move seamless.
1. The Right Foundation
Don’t just grab any dirt from the backyard! Young Pothos cuttings need a lightweight, airy environment to thrive. I always use a Premium Potting Mix because it provides the perfect balance of moisture retention and drainage.
2. Preparing the “Cradle” (The SolaPlant Secret)
Before we talk about soil, we need to build a drainage layer at the bottom of the pot. This is the “berço” (cradle) that ensures your plant doesn’t drown in excess water.
- The Base: Start by covering the bottom with a layer of expanded clay (argila expandida), small stones, or even broken styrofoam.
- The Filter (SolaPlant Hack): To prevent the soil from escaping through the hole, you need a barrier. Instead of buying expensive landscape fabric, I love using old coffee filters! It’s the perfect upcycling trick. Just place the filter over the stones; it will let the water pass through while keeping the soil perfectly in place.
3. Choosing the Perfect Pot
For a single cutting or a small bunch, start with a 4 to 6-inch pot.
- Ceramic is Queen: I love using these Aesthetic Ceramic Pots. Not only do they look stunning, but ceramic allows the roots to “breathe” better than plastic.
- Drainage is Non-Negotiable: Your pot must have a hole! Pothos hate “wet feet.”
4. The Planting Process
- Fill and Nest: Add your Potting Mix over the drainage layer until the pot is 2/3 full.
- Be Gentle: Place the roots in the center and gently fill around them. Think of it as tucking the plant into a cozy bed.
- The “Transition Trick”: Keep the soil slightly more moist for the first 10 days. This helps the water-grown roots adjust to the earth without wilting.
5. Maintenance
Place your newly potted friend in bright, indirect light. Give the leaves a refreshing mist with your Plastic Spray Bottle daily to maintain those tropical Florida vibes indoors.
Back to Basics: Missed the first part? Learn How to start your propagation in water here.